Challenge #3: Installation (continued)
... now for the easy part.
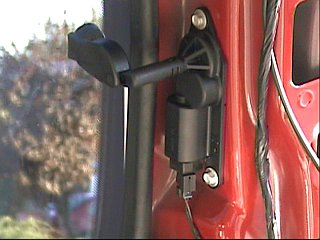
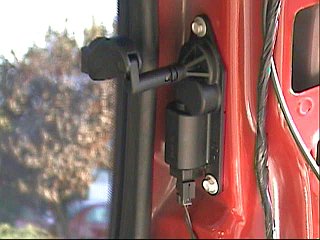
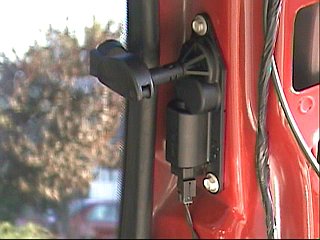
The next step was to install the new window hardware. This is the
piece that connects the motor to the window.
I guess the "hardest part" was getting the screw started. I had to hold
the nut with one hand on the outside of the van, while trying to start the
screw with the other.
Suggestion: It would be good to have another person to help by
holding the nut from the outside.
Once the screw was started, I had to hold the mount with one hand and turn
the screwdriver with the other. The final mounting position was just a
guess, but it worked out just fine. |
|
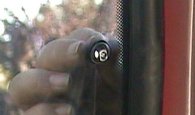
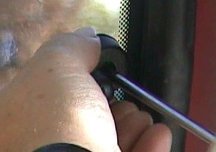
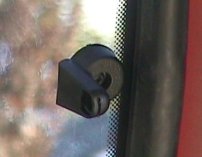
Pictures 20, 21 & 22 -
Installing the NEW Window hardware |
|
Next was to mount the
motor. Since I had already tapped out the mounting hole (see
page 3), this was a simple matter of holding the motor to the body and
bolting it in.
To connect the window hardware to the motor, I connected to power wires and
rotated the motor to the OPEN position. I lined up the "ball" to the "hole"
of the window mount and hit it with my fist to seat it properly. This
was necessary because of the retaining spring in the window mount (see
page 1). |
|
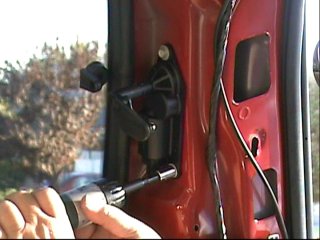
Pictures 23 & 24 -
Installing the motor |
|
Below are a couple
of pictures taken with the window in the half-open and fully closed
positions. |
|
Pictures 25 & 26 - Window Half-Open & Fully Closed |
|
I hope this
information is helpful if you want to install this little "upgrade", or maybe
help you to troubleshoot any problems you might have with your Power Rear Quarter
Vent Windows.
Just for fun, I have put a small video together that shows the Rear Quarter
Vent Power Window in operation. You can find it on the
Videos Page.
Take Care,
Greg A. |
|
Back to Page 1
| Back to Page
2 | Back to Page 3 | Page 4 |