Challenge #3: Installation (continued)
... there were a few issues to be tackled.
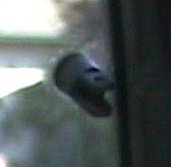
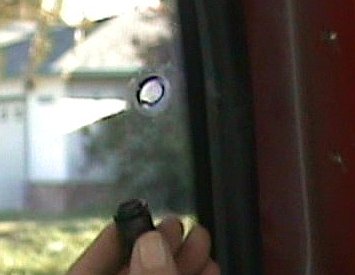
The forth issue was getting the old hardware (latch & mount) off the
windows without doing any damage, like breaking the windows. I was able to
tap on the "bottom" of the pin that holds the two pieces together with a
small screwdriver and hammer to get the pin out. The final picture
shows the window mount with the latch removed.
Suggestion: When I did this, the driver side pin was hard to get
out and I ended up breaking part of the old window mount. If I was to
do it again I would probably put some kind of lubricate on the parts to make
it easier to remove them. |
|
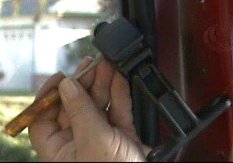
Pictures 11, 12 & 13 -
Removing the old connecting hardware |
|
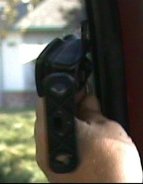
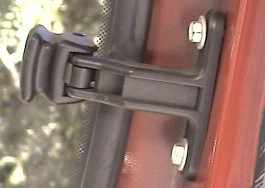
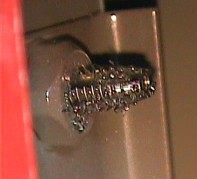
Next was to get the
mount off the window. If you look closely below, you will notice that
I had to use a wrench to keep the mount from turning while I unscrewed the
mount from the window nut. The other picture shows the window hardware
removed. |
|
Pictures 14 & 15 - Removing the old window mount |
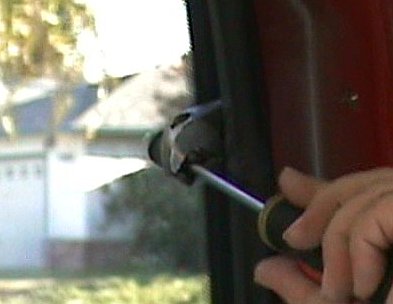
The fifth issue was fixing an
incorrectly installed mounting bolt. If
you look closely at picture 16, you will see that the top bolt is not
screwed in all the way.
This is the way I found it when I took the cover off. So I guess this
happened at the factory, although the previous owner could have had some
work done it this area. I tried to temporarily mount the motor and was not
able to get the bolt all the way back in. So the hole had to be tapped
out. |
|
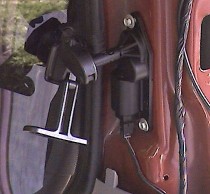
Pictures 16 & 17 - Incorrectly Installed Mounting Bold |
|
Below are a couple
of pictures taken while I tapped out the hole.
For Your Information: The tap is a
metric 1/4 inch 20NC (20 threads per inch). |
|
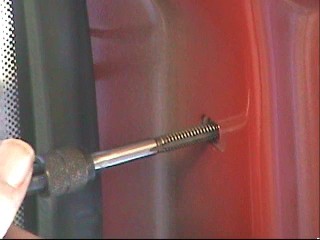
Pictures 18 & 19 -
Tapping out the bolt hole from the front & back |
|
Back to Page 1
| Back to Page
2 | Page 3 |
Page 4 |