Challenge #3: Installation
Installation was actually pretty easy, but there were several issues to be tackled.
The first issue was getting the trim panels off. This involved
removing the bolt that holds the guide for the seat belt shoulder strap so I
could remove the trim panel. I used a Torx T-45 bit and wrench to
removed the bolt. See pictures below.
Note: I have been told by a reader that he had to use a T-50 to
remove the bolt on his 2003 Venture. |
|

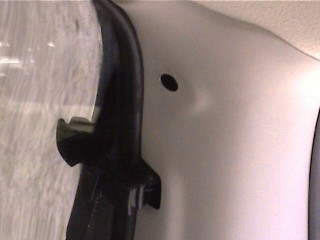
Pictures 5 & 6 - Rear Seat Belt Stud Removal |
|
The second issue was getting the trim panels off without breaking anything.
I didn't get a good picture of the panels themselves, but the pictures below
show the plastic "pins" that the trim panel slides over (circled
in yellow below). There is
also a "clip" molded into the panel at the top front (near the window &
roof).
To remove the trim panels:
- Gently lift the rubber weather seals
at the back of the panels while lifting the edges of the panel at the back.
- At
the same time (an extra hand might help here), push IN at the top front of
the panel (where the "clip" should be) and pull the panel toward you about
2 inches. This should release the "clip" and leave the panel sitting
on the pins, and allow you to see behind the panel.
- There are 2 plastic retainers that hold the panel in place. Use a
trim removal tool to loosen the retainers from the holes in the body (1 is
circled in red below. The other is above the top of the pictures).
- Once the retainers are loose, lift the panel up and out. You should
see everything in picture 7. |
|
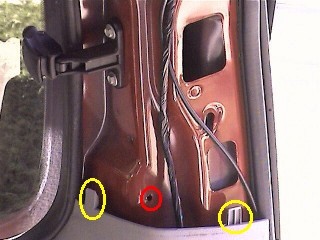
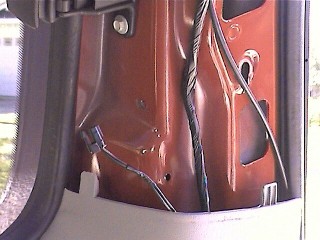
Pictures 7 & 8 - Rear Quarter
Post w/trim panel removed & with Power Connector pulled up |
|
The third issue was finding
the Power Connector for the motor.
Picture 8 (above) shows the Power Connector pulled up from under the trim.
But to find it, I had to remove the cover from the seat belt reel and look
up behind the plastic trim (see pictures 9 & 10 below).
The good news is that I found the Power Connector taped to the wire
harness with masking tape. So it was easy to just pull the wires and
connector up, breaking the tape and allowing me to pull the connector up. |
|
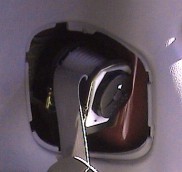
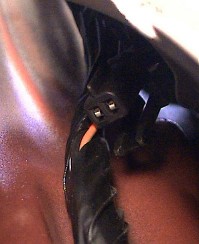
Pictures 9 & 10 - Seat
Belt Reel & Power Connector (under trim) |
|
Back to Page 1
| Page 2 | Forward to Page 3
| Page 4 |